Go to the D-ID Creative Studio, Click on Video Campaigns, then click on ‘+ Create campaign’.
Step 1: Choose avatar
![]()
Step 2: Avatar Voice and Script
Choose your desired language and select the voice you want to use
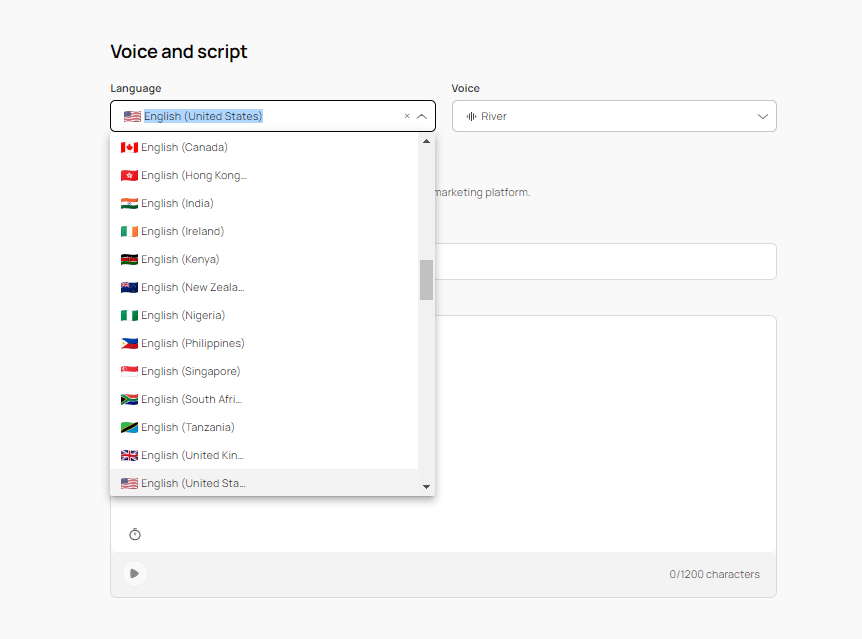
Next, add the dynamic fields (personalized fields) you’d like to use in your script, just as they appear in your email marketing platform.
For example, if you’d like the avatar to address the user by her first name and use Hubspot, add {{contact.firstname}}, and click Enter. If you’re using Mailchimp, add *|FNAME|* for the same purpose.

Once you’ve added your dynamic fields, it’s time to write the avatar script. To add a dynamic field to the script, simply click the field and it will be added.
Watch this video tutorial to learn more.
Step 3: Display campaign
Since email clients cannot play video inside an email, we will provide you an avatar-animated GIF thumbnail to be included in your email. When your users click it, they will be directed to your video landing page.
You can:
- Add your logo
- Add title
- Add description
- Add a call to action, and design it
Step 4: Publish your campaign:
Once you’ve created your campaign, its default is set to “unpublished.” Use the campaign menu to publish it:
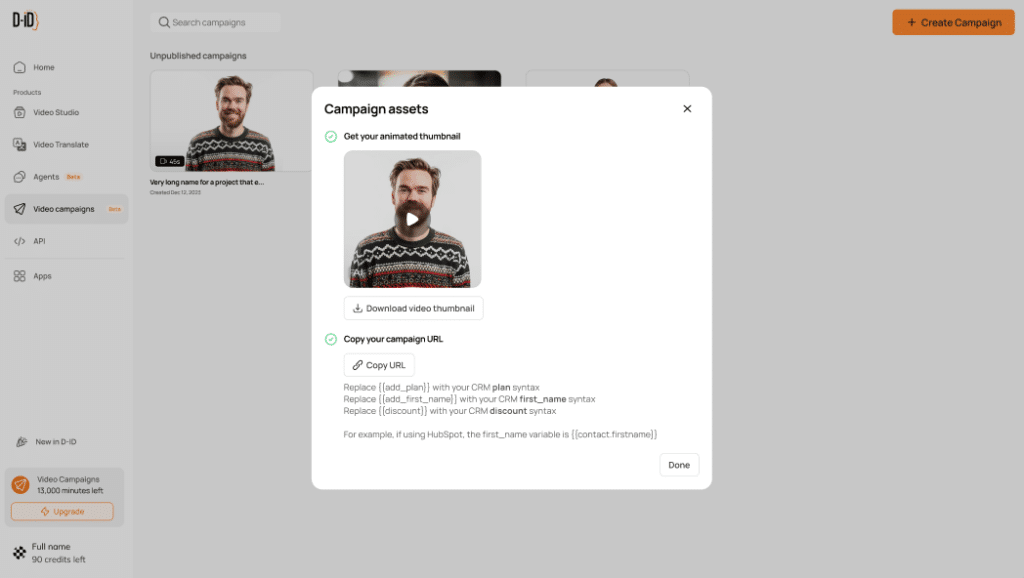
From the Publish campaign modal, copy the animated GIF and paste it into your email campaign editor at your chosen email provider:
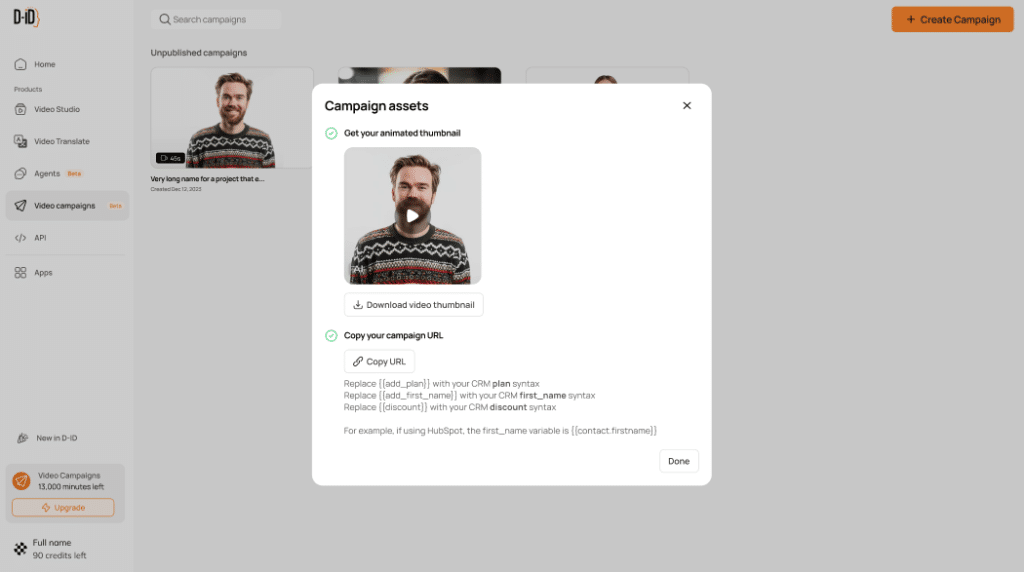
Then, click the Copy URL, and paste it as the link to the GIF image in your email. For example:
- If using Hubspot, you will need to replace {{UID}} with {{contact.email}}
- If using Mailchimp, replace {{UID}} with *|email|*
- For other email marketing platforms, replace {{UID}} with the user email personalization token.